
Setting up
Five minutes, a handful of cables, and you're done. There's no keyboard to find — the ACE has one built in. Switch the power on last.
1. The monitor
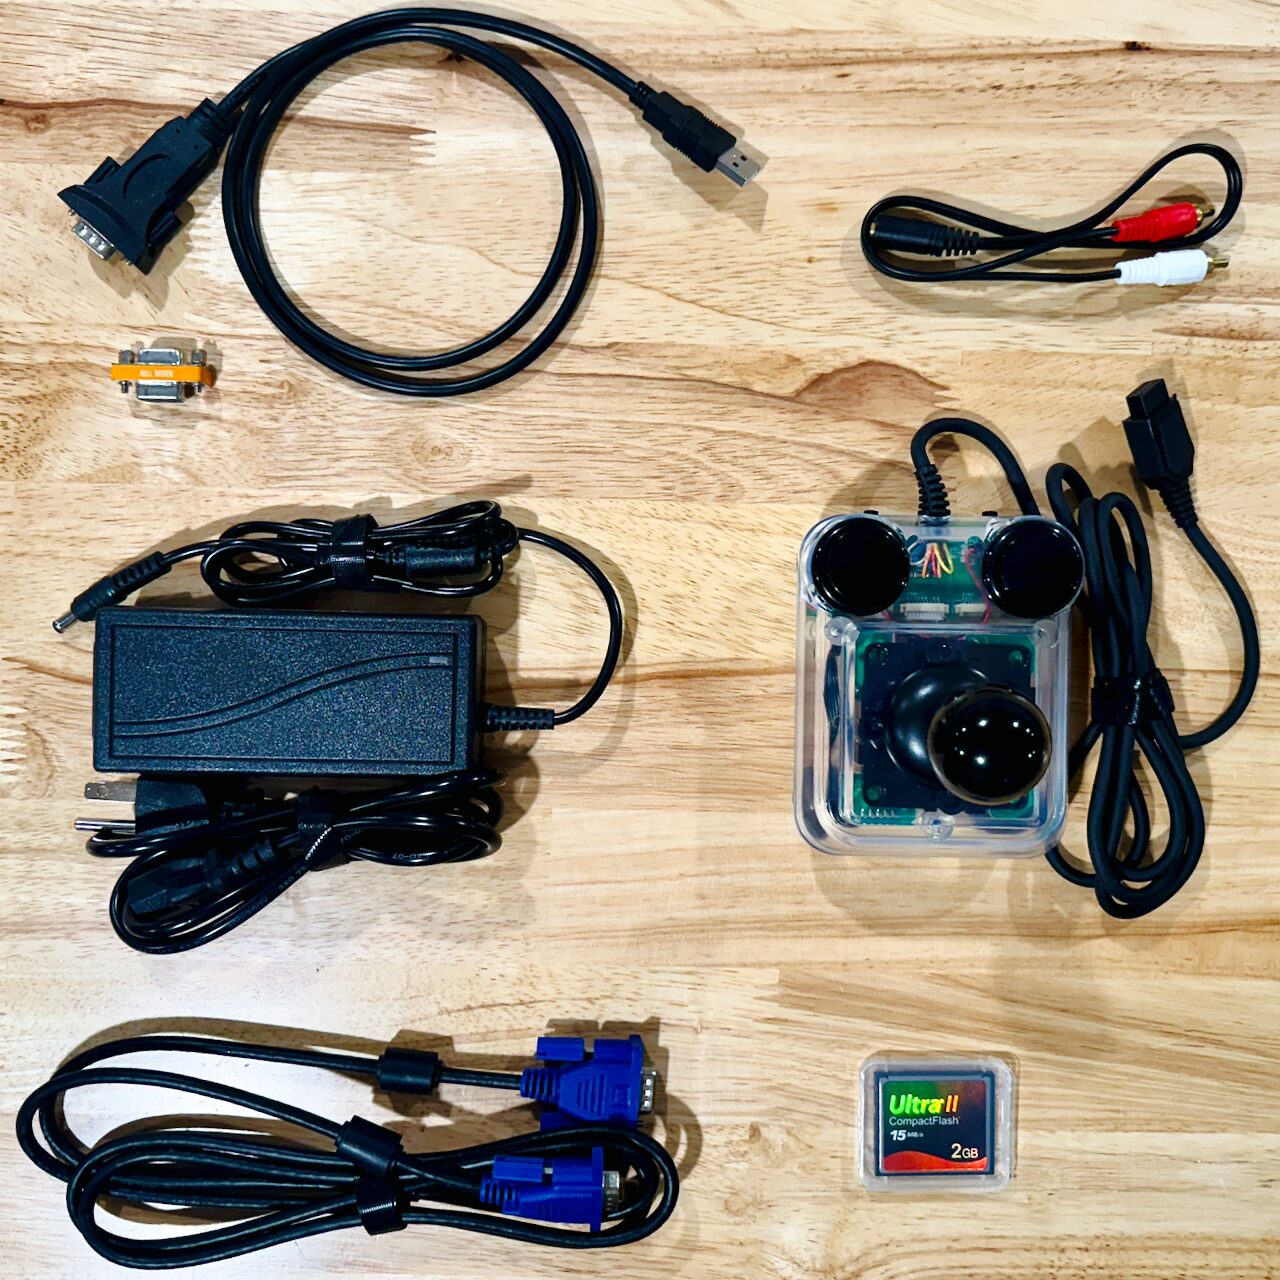
A VGA cable from the ACE's video connector to any VGA monitor. Most flat panels made before about 2018 have a VGA socket; if yours doesn't, a VGA-to-HDMI converter box works fine — get one with its own power supply rather than a passive adapter, which won't work at all.
The picture is 640×480. On a widescreen monitor it'll come up as a squarish window in the middle, or stretched, depending on the monitor's own settings.
Which video card
Everything in this guide is written for an ACE whose video card is a PICO9918 PRO v2.0 running the 6502-PICOVDP firmware. The firmware for the real board hasn't been released yet — until it is, the emulator is where that card runs. The earlier Pico9918 boards can't run it at all, and an ACE fitted with one has the BIOS 1.6 edition of this guide instead: acwright.github.io/6502-DOCS/v1.
2. The keyboard
Nothing to do. The ACE's keyboard is soldered to the board — 67 mechanical keys across the front of it, and it's live the moment the machine is on.
Using a separate keyboard instead
Two other options exist, and they're both really for people building an ACE into a case rather than using one:
- The PS/2 socket takes an old-fashioned keyboard with a round purple plug. A USB keyboard with a passive PS/2 adapter usually works too, if the keyboard supports it (most cheap ones do; most fancy ones don't).
- The 8×8 matrix header takes a keyboard you've wired yourself, so the keys can live on the outside of an enclosure while the board lives inside.
A builder taking either route simply doesn't fit the on-board switches. All three paths feed the same input, and more than one can be live at a time.
3. Sound
An RCA cable from the audio output to a powered speaker, an amplifier, or the line-in on a set of computer speakers. The ACE puts out line level, not speaker level — plugging a bare speaker straight in will give you almost nothing.
You can skip this. The machine works fine in silence; you just won't hear the startup beep or anything SOUND does.
4. Joysticks
Two ports, both Atari 2600-compatible — the nine-pin sticks from the Atari and Commodore era, still sold new. One is J6, the other is J8.
Which is which in BASIC
J6 reads as JOY(2) and J8 reads as JOY(1). Yes, that's backwards from what you'd guess. If your game moves the wrong player, that's why.
5. The memory card
The CompactFlash card slides into the adapter on the Storage header. Any CF card works; the ACE uses the first 256 MB of it and ignores the rest, so there's no point buying a big one.
It's keyed, so it won't go in the wrong way around — if it's fighting you, turn it over rather than pushing harder.
A brand-new card needs formatting before you can save to it. That's one command once you're up: see Storage.
6. The serial port
Optional. A USB-to-serial adapter into the DB9 socket lets you drive the ACE from a laptop, which is handy for copying and pasting listings and for moving files back and forth. Set your terminal program to 19200 baud, 8-N-1.
See Serial and a terminal for the details — including the handy side effect that with a serial cable attached, you don't strictly need the monitor at all.
7. Power
5 V DC into the barrel jack, center positive, 1 A or better. A 5 V 2 A supply with a barrel-jack lead is the comfortable choice. There's a power switch on the board, next to the jack.
Do this last, once everything else is seated. Nothing on the ACE is hot-pluggable — putting a CompactFlash card in or pulling a joystick out while it's running is a good way to reset the machine at best.
Then turn to First power-on.
No hardware yet?
The emulator is a complete ACE that runs in your browser or as a desktop app. Every chapter in this guide works there, including storage and sound. Skip straight to Your first ten minutes.